Bounce Flash at Trade Shows and Exhibitions: How to Light Products and People Under Hall Lighting
Exhibition halls look bright when you walk in. Then you look at your pictures. Faces have dark eye sockets from overhead spotlights, products glow orange on one side and blue on the other, and the stand behind them is a mess of mixed color. The light that makes a hall feel busy is terrible light for photographs.
A small flash fixes most of that, if you stop pointing it at the subject.
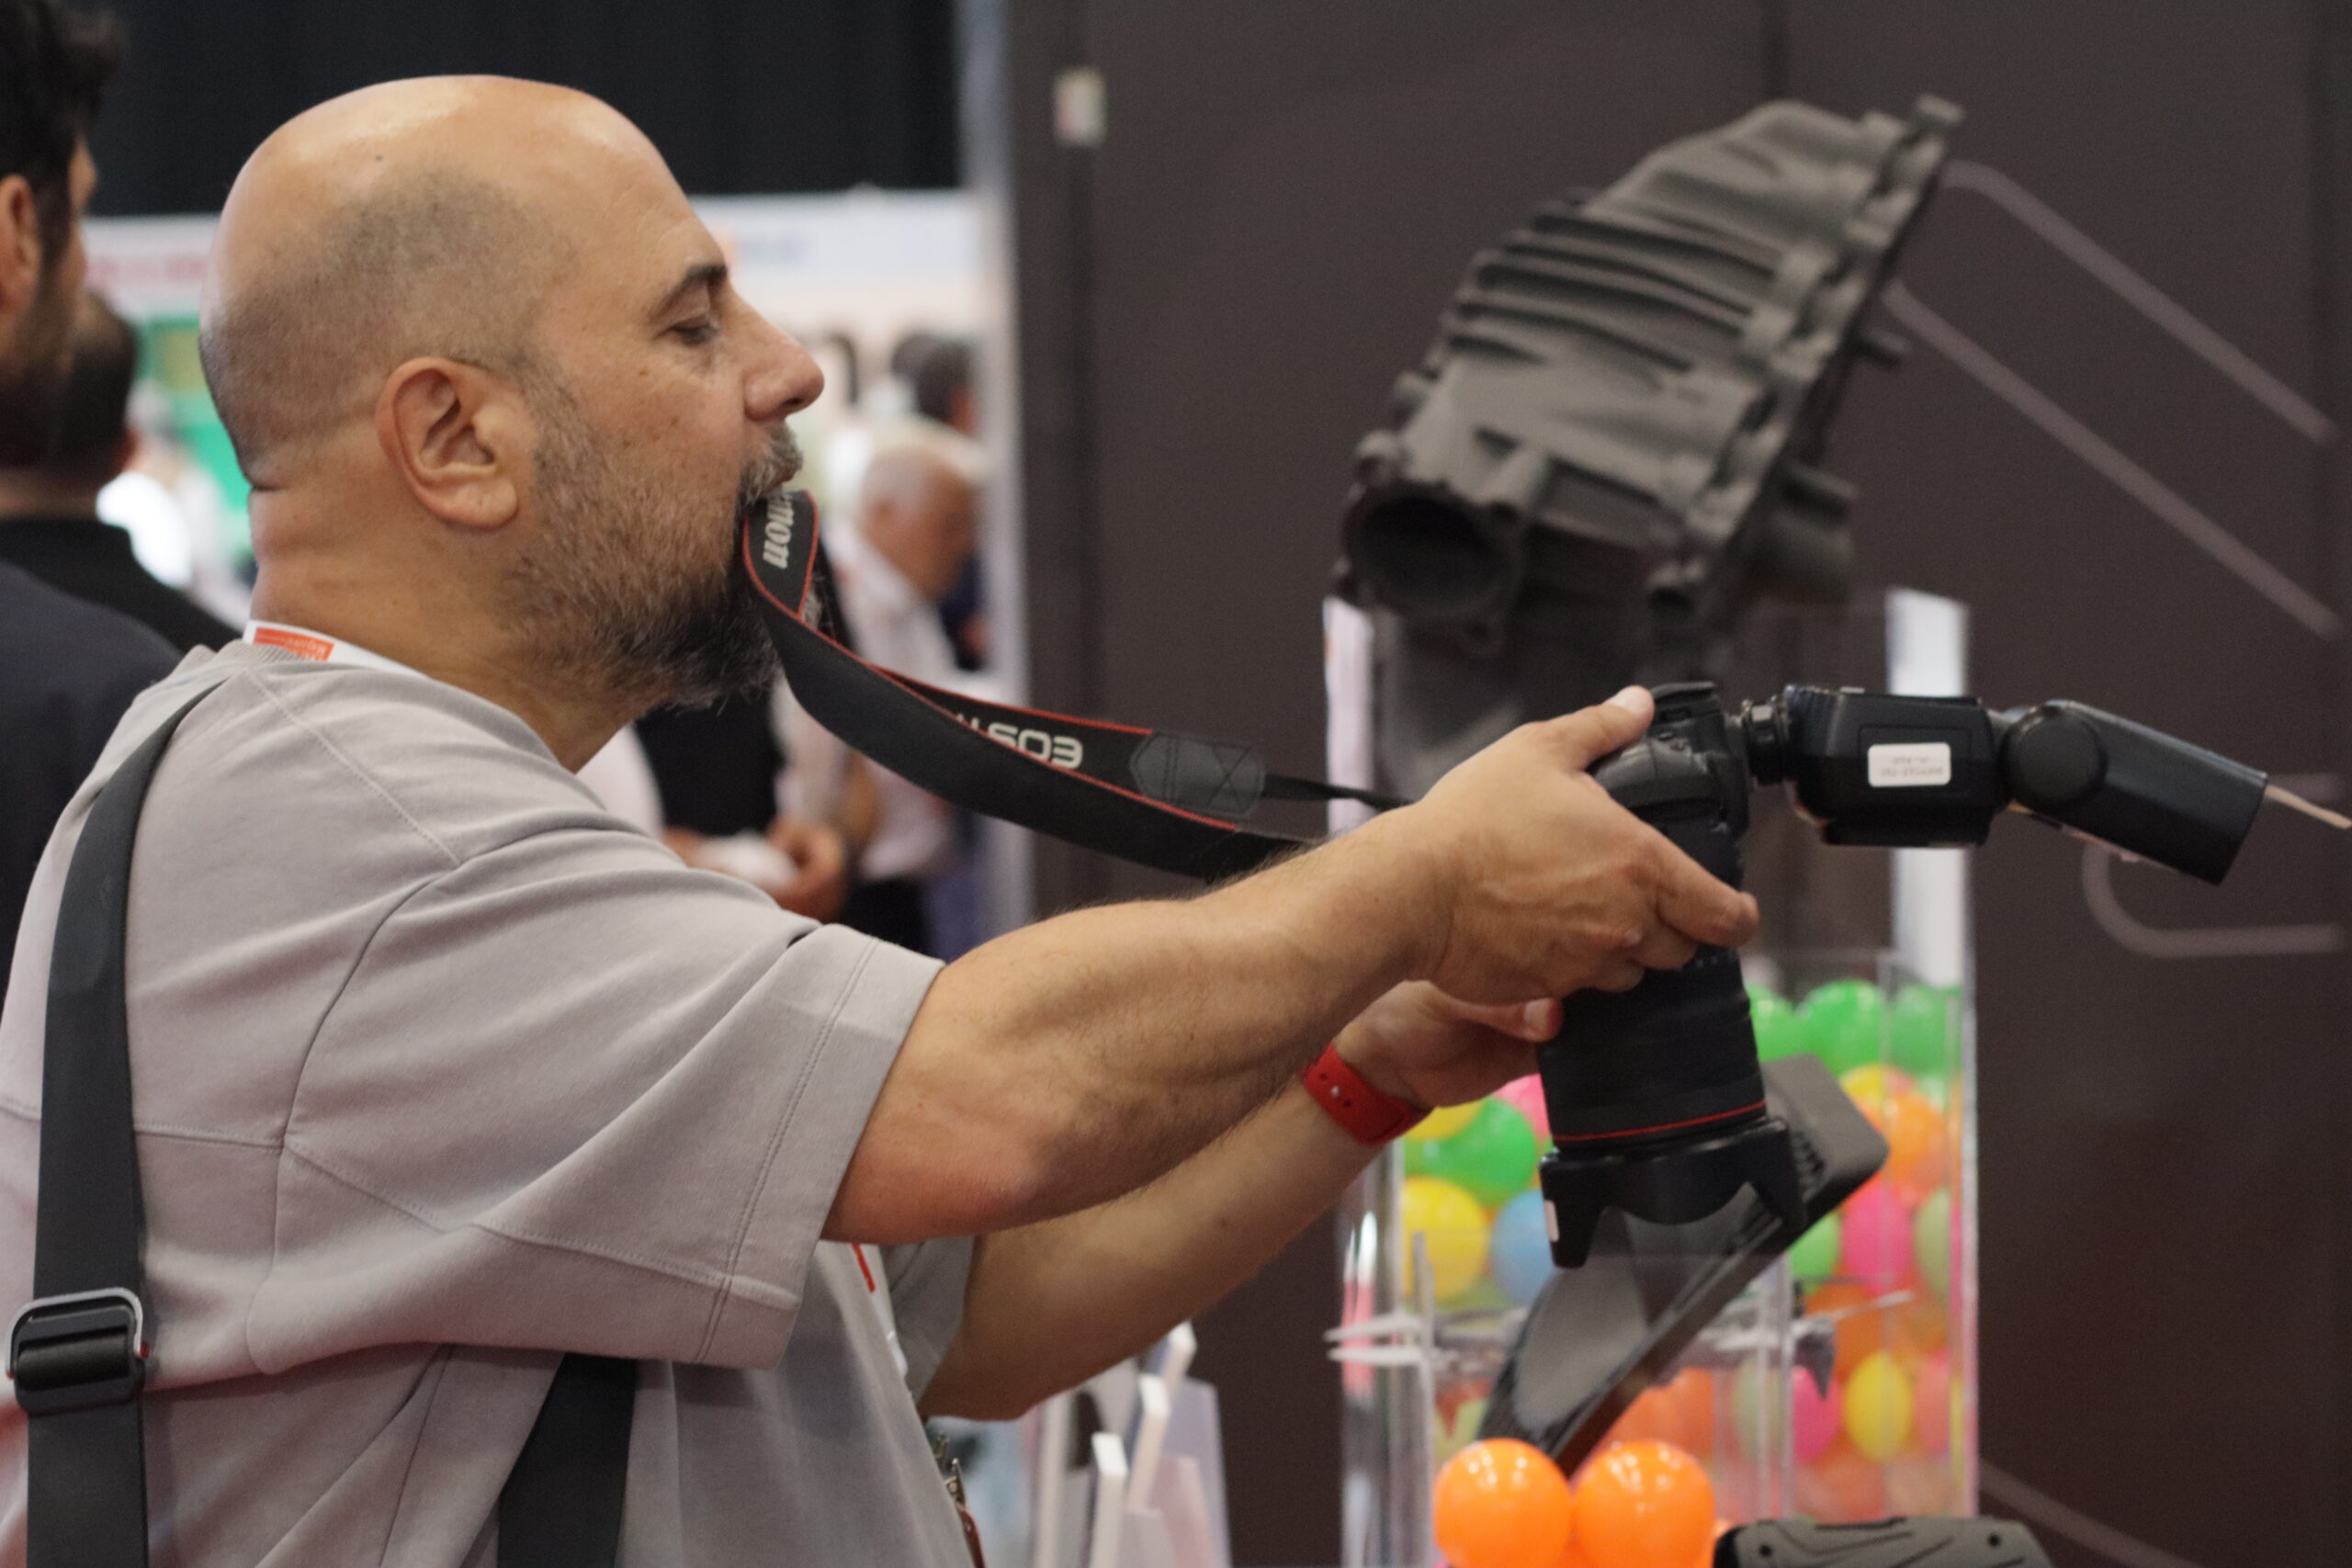
The photographer below is doing it properly. Speedlight on the hot shoe, head turned away from the product, camera close to a display piece on a stand. That one move, sending the flash somewhere other than straight ahead, is most of the skill.
Why direct flash looks bad
A flash pointed straight at a subject is a tiny, hard light source sitting right on the lens axis. It flattens faces, leaves a hard shadow on the wall behind them and turns shiny products into white glare. It also overpowers the hall’s lighting completely, so the stand behind your subject goes dark.
Bouncing turns that tiny light into a big one. Fire the flash at a wall, a ceiling or a white panel, and the surface becomes the light source. Bigger source, softer light, gentler shadows.
Where to bounce in a hall
Ceilings in exhibition halls are usually too high and too dark to bounce off. That’s the first surprise for people who learned flash at home. A 10-meter black ceiling swallows your light.
So look sideways and behind you. Stand walls are often white or pale grey. A white partition one or two meters away makes a lovely soft light from the side. Turn the flash head toward it, aim slightly up, and let the light come back across the subject.
If there’s nothing close, use a bounce card or a small diffuser on the flash head. It’s not as soft as a wall, but it’s much better than bare direct flash. A white card on the back of the head throws some light forward and the rest up.
Watch the color of whatever you bounce from. A red stand wall turns faces red. Bounce off the neutral side.
Settings that work
Shoot in manual exposure with TTL flash. Set the shutter speed and aperture for the background first, usually around 1/100 sec, f/4 and ISO 800 to 1600 in a typical hall. That keeps the stand and the hall visible behind your subject. Then let TTL flash light the subject on top.
If the flash is too strong, dial flash exposure compensation down a stop. Bounced light falls off fast, so check your first frames on the screen and adjust.
Mixed light is the other battle. Hall lighting is often warm. Flash is daylight colored. Put a warm gel (a quarter or half CTO) on the flash so it matches the room, then set white balance to the hall’s light. Faces and background will then agree on color.
Gear that helps
A flash with a head that both tilts and swivels, so you can bounce sideways when you shoot vertical frames. Fresh batteries or a lithium-ion flash, because you’ll fire hundreds of times. A small bounce card. A camera with good high-ISO files, which means almost any full-frame or recent APS-C mirrorless body.
A bright, fast zoom helps too. Something like a 24-70mm f/2.8 or a 24-105mm covers stands, products and people without changing lenses.
Practice at home first: bounce off a wall, a door, the ceiling, a sheet of paper. Ten minutes of that teaches more than any manual.